Captura Enhance Blog
Chloe Almeida
Skylab Academy: How to Get the Perfect Portrait
Nov 9, 2023

Welcome to the crash course on how to get the perfect portrait! We can’t claim to make your life easier and just throw you into the world of Skylab Studio, expecting you to know everything. This is the introductory unit of Skylab Academy, called “The Basics”, and we’re teaching you everything from upload to output PLUS some.
Unit 1: The Basics
Let’s start at the beginning - with the photos. Think of this as your pre-reading homework assignment. You know, the one you don’t think is necessary but turns out to be a huge help? This is that. To get the best results with Skylab Studio, you need to start with quality input images. Here are some insider tips shared by Olivia Barbieri, Skylab's Operations Manager, to make sure your photos are in great shape:
- Have a Well-Lit Subject: Adequate lighting is crucial for capturing all the details in your subject.
- Ensure Contrast with the Background: If you plan to extract the subject from the background, make sure there is enough contrast.
- Minimize Messy Backgrounds: Clean and uncluttered backgrounds make your subject stand out.
- Shoot in Landscape: Portrait images usually work best in landscape orientation.
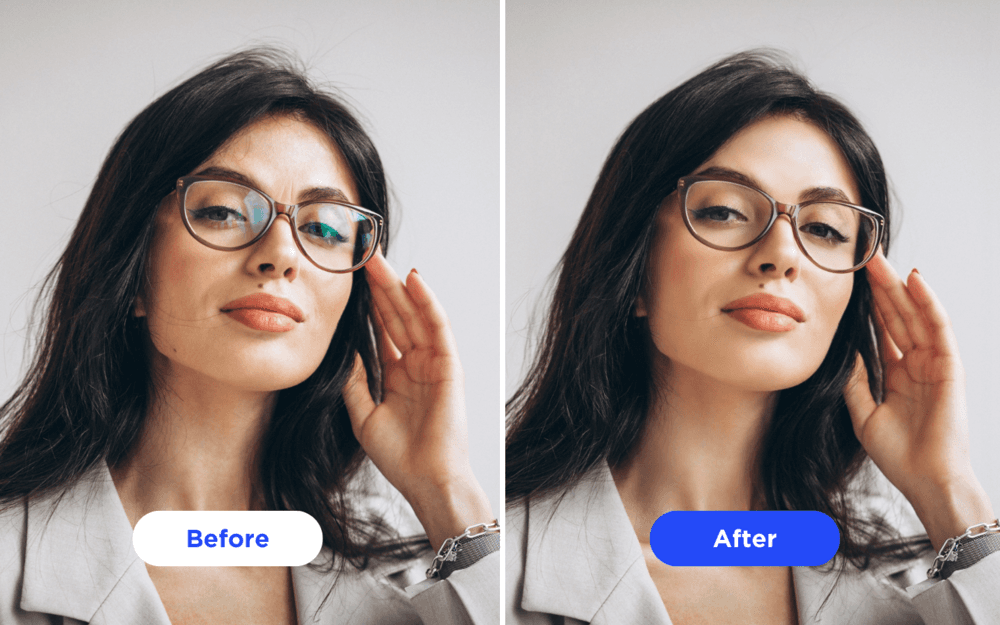
- Don't Worry About Glass Glare: Skylab Studio can handle glass glare removal.
- Use High-Quality Images: The better the image quality, the more details Skylab Studio can work with.
Once your input images are ready, let’s dive into Skylab Academy's lessons.
Lesson 1: Learn How to Use Skylab Studio Desktop App
Before you start editing, it's essential to get to know Skylab Studio. Start by watching this introductory video, Learn How to Use Skylab Studio Desktop App, that covers the entire editing process. Afterward, we'll break it down for you, step by step.
Lesson 2: Uploading Your Images
Now that you've learned the basics of The Basics, you’re ready to start your job. Skylab Studio provides you with two options for uploading your images:
- Start a Job Folder Upload: If you have a collection of images in a folder, this is the way to go.
- Start a Job with File Upload: For individual image uploads, use this option.
If you’re dealing with large volume jobs, you’ll want to learn how to Master Hot Folders with Skylab Studio. Another tip from Olivia? “You can make use of hot folders when shooting tether to automatically have images go through a ‘pre-processing’ edit. This could be color correction, crop and/or extraction!”
Lesson 3: Editing Your Images
Here comes the fun part - editing your images! You can choose between selecting from the Drop Down menu, where you can select the feature(s) you want to use a la carte, or you can Create a Custom Profile Preset on Skylab Studio to streamline your editing process.
In Olivia’s professional opinion, she suggests thinking of the features in two categories. The first category is pre-processing where Studio takes care of tasks like color correction, cropping, extraction, and optional glass glare removal. The second is post-processing, which involves using additional features when you place your orders, including retouching, enhanced retouching, full-body retouching, teeth whitening, and braces removal. With that said, you can combine as many features as you like at once to do a complete edit in one go!
Lesson 4: Output
After you've edited your images to perfection, it's time to choose your output. Skylab Studio offers various output options, depending on your requirements. If you're using Kodak DP2, you can even opt for a direct DP2 output. Learn how to master this process with the "Master the Kodak DP2 CSV Job Workflow on Skylab Studio" tutorial.
Unit Completed!
Great job! You’ve mastered The Basics of Skylab Studio. Now it’s time to apply your knowledge and get the perfect portrait. If you still have questions, take a look at our FAQ page and Pricing Guide or send us an email at info@skylabtech.ai.
Share